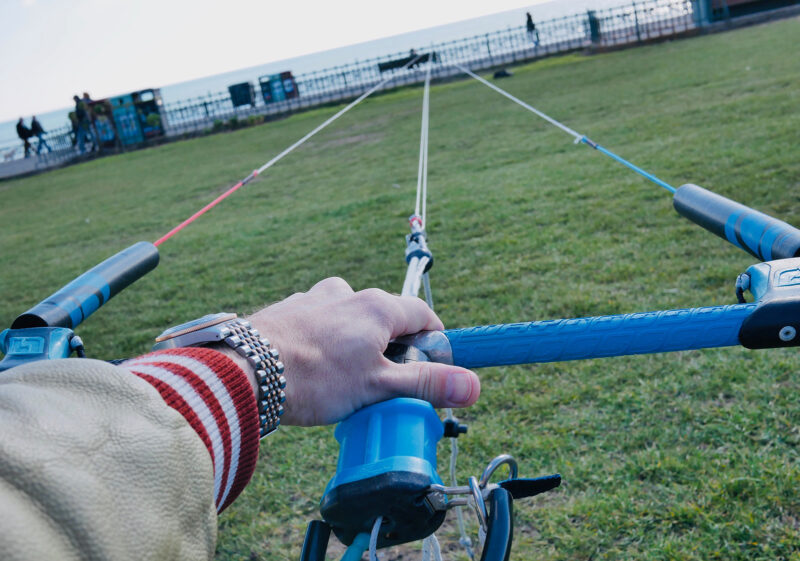
So, this happened.
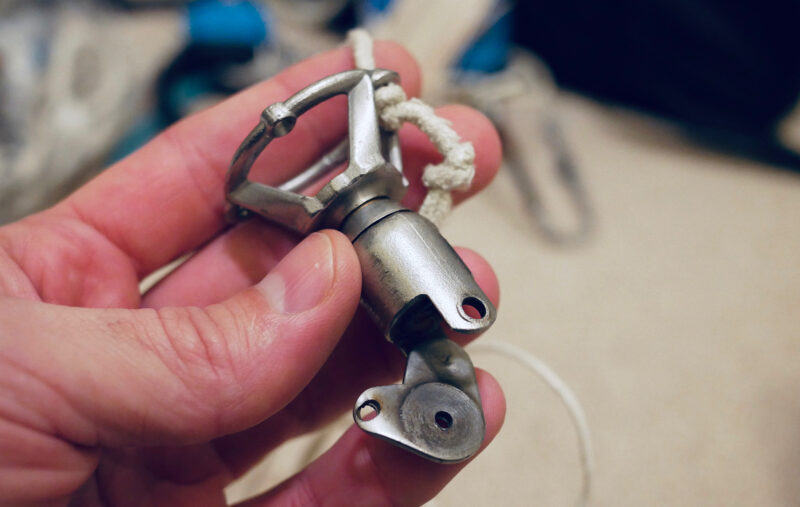
My Switch Kites Controller v2 has been with me since forever and I’ve replaced pretty much every piece over the years. And the final piece to go was this hunk of steel that no-one liked anyway! It was supposed to work as an above the bar swivel, to untwist your lines. But it never worked. So I decided to not only fix what was broken, but to improve on it!
Need to refresh your kite control bar basics? Read my guide here.
Get the spare parts
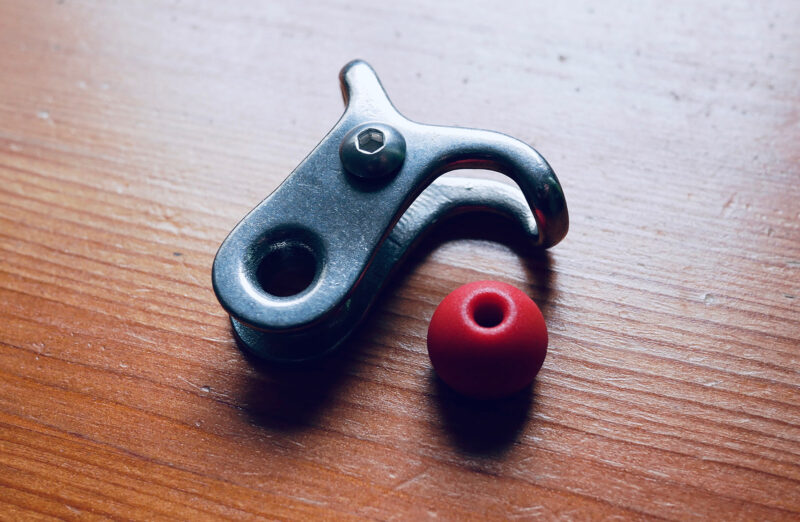
They probably don’t even sell these as spares anymore since it’s an old model, but either way I opted for something much simpler – the classic trimmer bracket from Ozone.
Ozone trimmer bracket and stopper ball
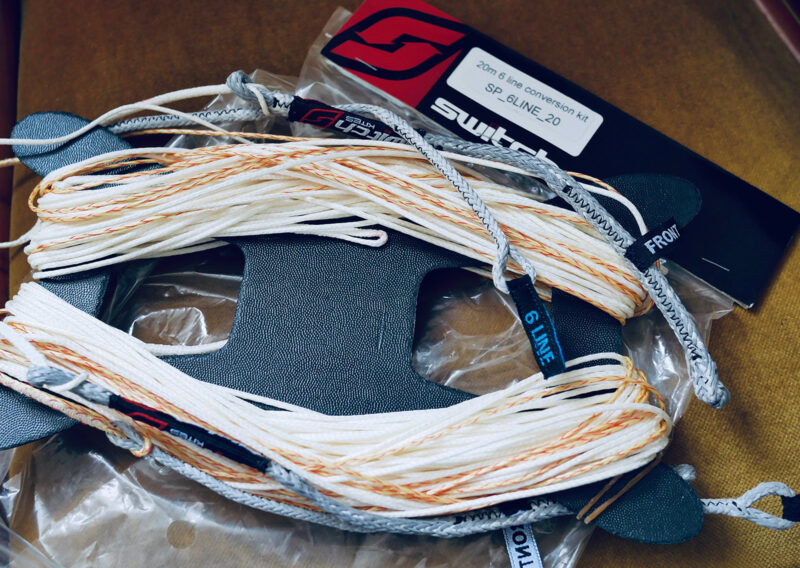
Since one of my front lines had snapped I needed a new one. When replacing lines, it’s better to replace them at the same time to ensure they are of equal length (old lines stretch and shrink). It’s hard to find a set of front lines only. Most line sets come complete with both back and front, but that can be pretty expensive and my back lines were fine still.
Luckily, Switch sells 20m front lines as a conversion kit. The fact that they come with 6th line extensions didn’t do anything as they were easy to remove, leaving me with two 20m front lines.
Switch Kites C2- C3- 6th Line Conversion Kit 20m
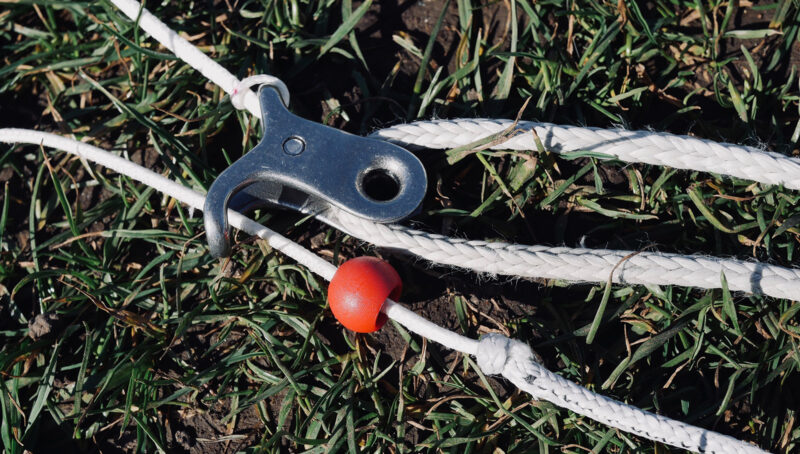
Attach the trimmer bracket
The trimmer bracket allows the depower rope to be trimmed. Thread the depower rope through the trimmer bracket and back through the cleat. Keep the end knot loose, as you’ll want to fine tune the length as the final step when you calibrate all four lines.
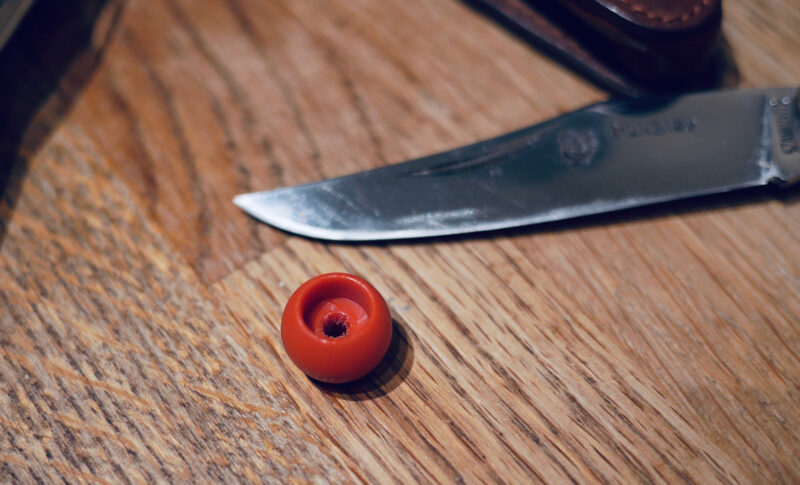
Increase the whole in the stopper ball
The Ozone ball’s hole is a bit too small for the line to run freely through it. This could potentially be very dangerous. Make sure the line runs through without any big force required. Do this simply by carving some of the plastic away with a knife or drill. In my case, not much at all was needed, so be careful to not overdo it.
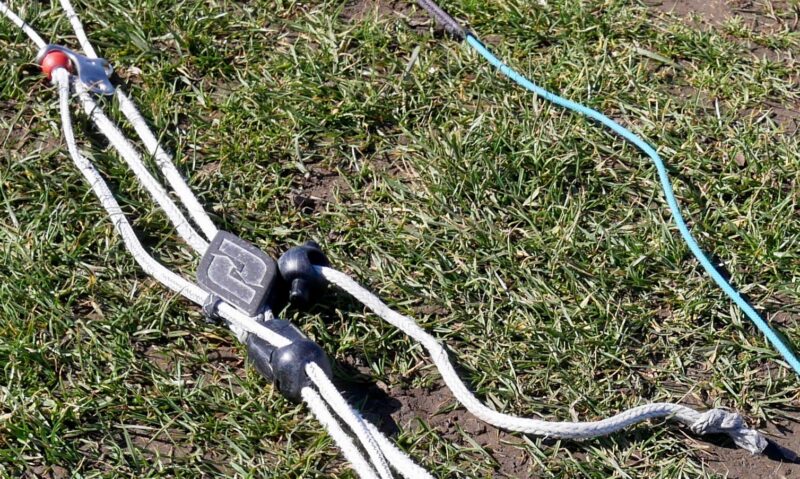
Attach the front lines
One line attaches directly to the trimmer bracket. The other line is connected to the flag line. First thread the line through the trimmer bracket ad the stopper ball. Then pull the flag line through the chicken loop and connect it to the front line.
When you thread it back, leave it outside the little fabric that keeps it in place. I noticed that when using this type of solution, the stopper ball can get stuck on this fabric when flagging out, and we definitely don’t want that to happen. It’s perfectly fine anyway, especially since it’s kept in place by the bar throw stopper plastic piece (in lack of a better name).
Calibrate the bar for equal line lengths
Alright, you’re all set. The final thing to do is to make sure the lines are all of equal length when the bar is fully sheeted in at full power.
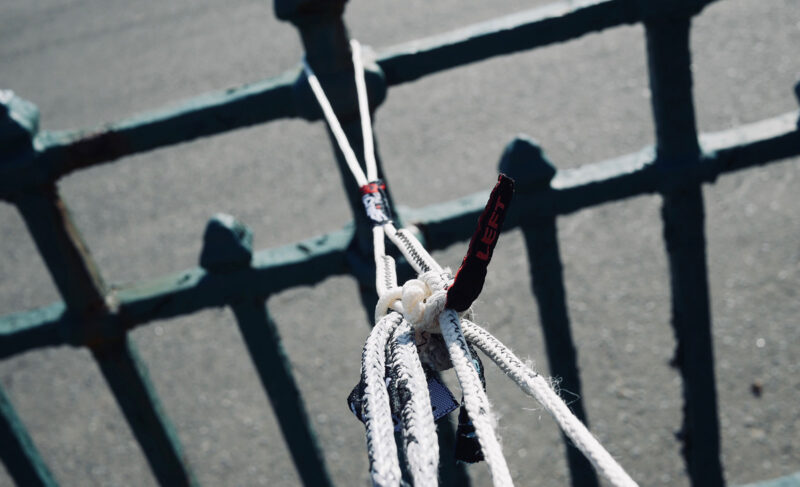
To do this, simply attach the ends of your four lines to a fixture and pull firmly on your bar, as if you were riding unhooked. If all lines have equal tension you’re all set. If either the front or back lines are loose you can either adjust this by setting the depower rope length, or you can add or remove length to the steering lines if you have extensions available.
Good to go. Enjoy your refurbished control bar and have fun on the water! Or, if you prefer to buy a completely new bar you can read my review of the C4X bar from Switch.